Framer
After you sign up on Swetrix and create a new project, the only thing left is to add it to your website.
Installation
Log in to your Framer account.
In the dashboard, click on the website you want to add Swetrix to:
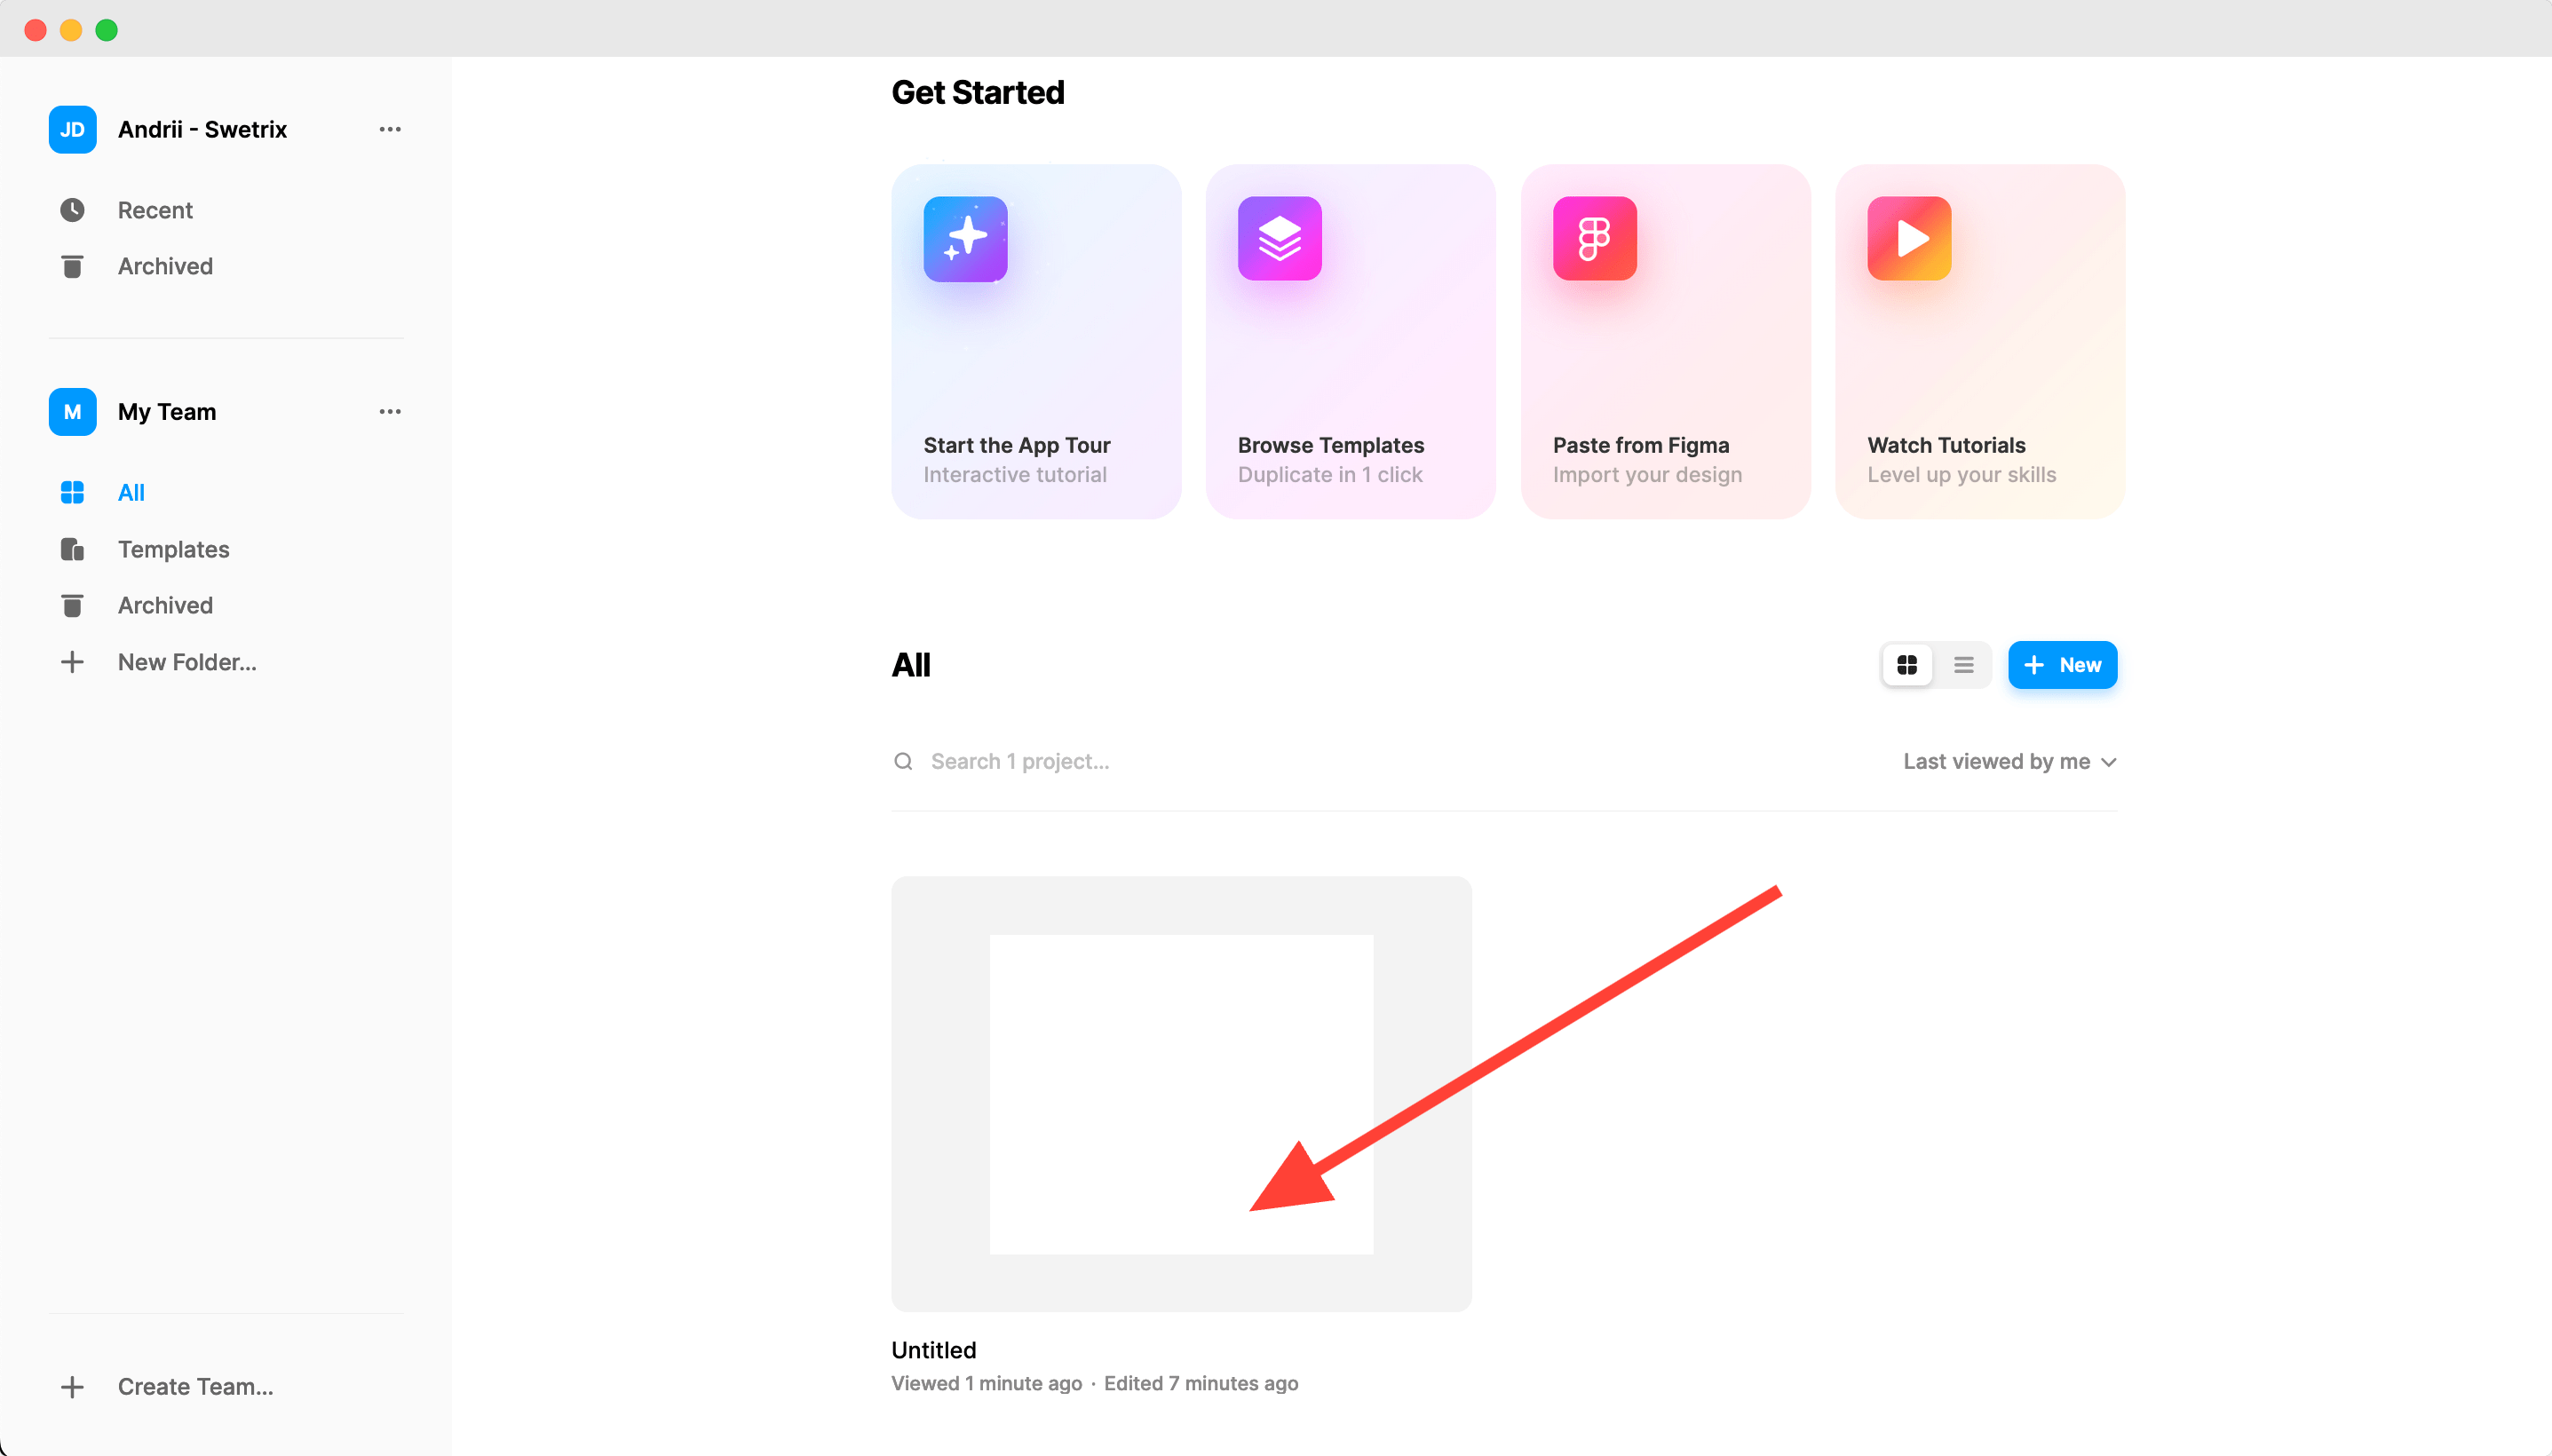
Open the website settings:
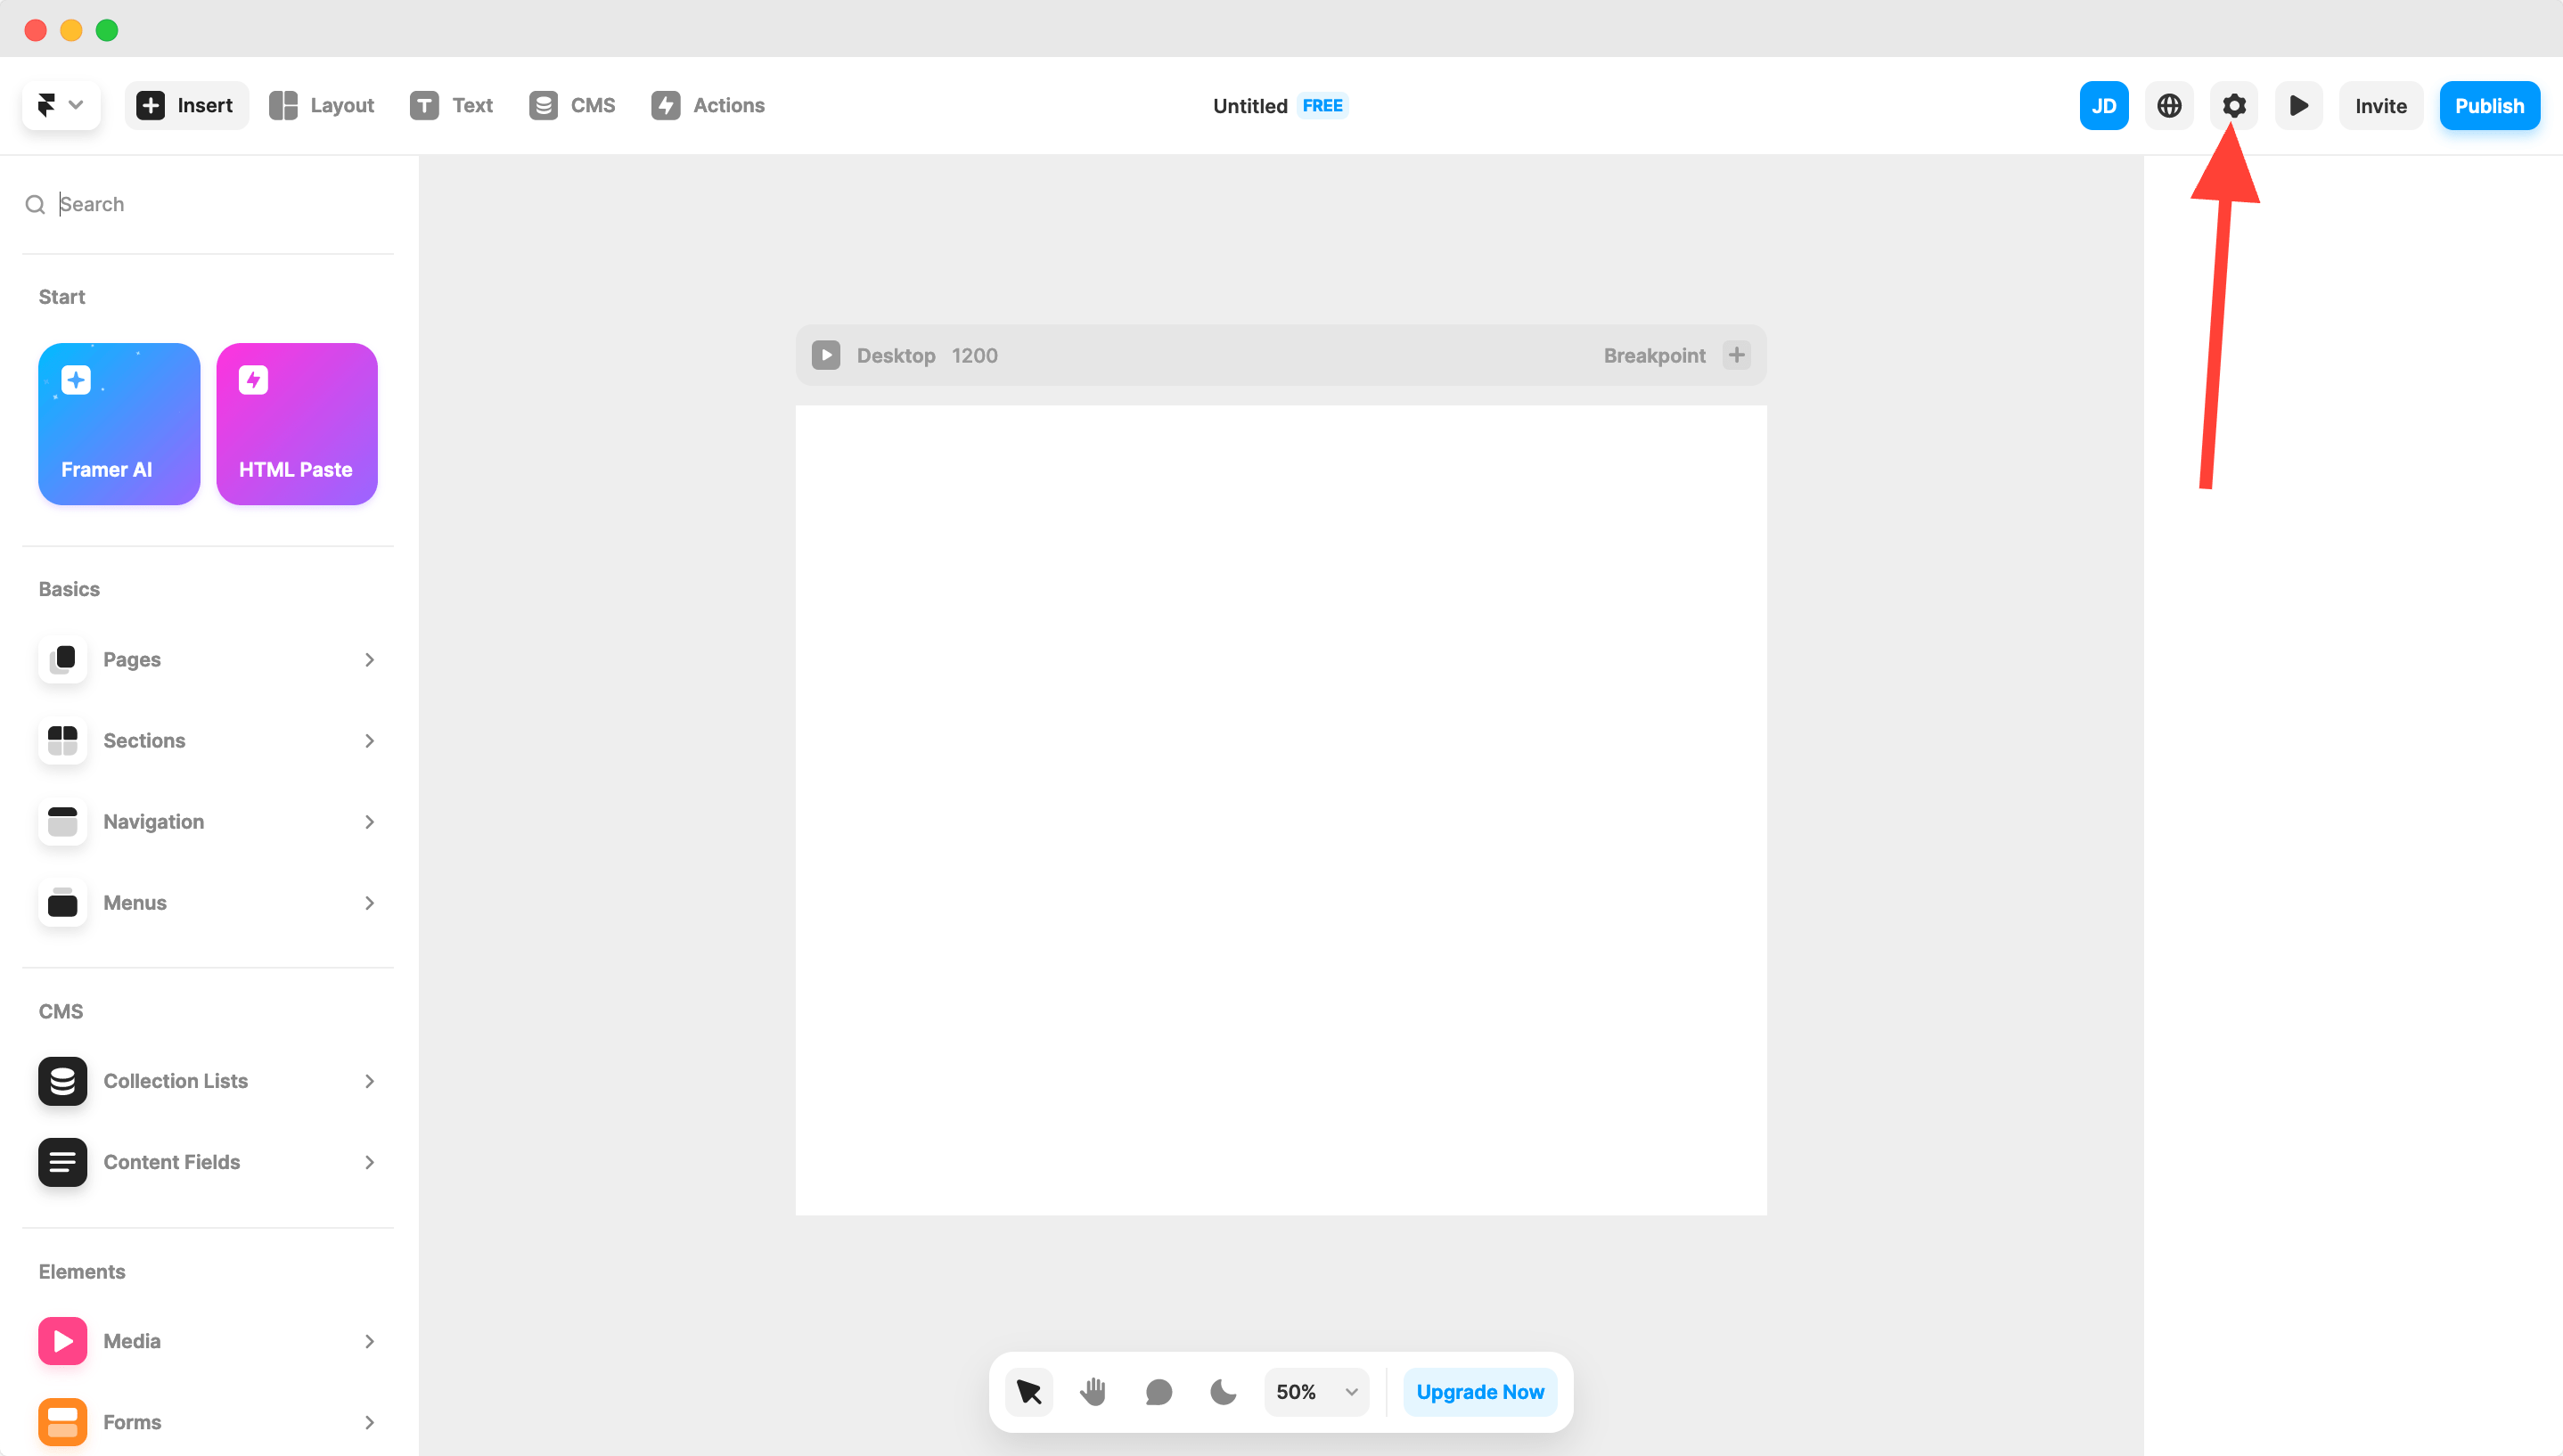
Scroll down to the
Custom Codesection: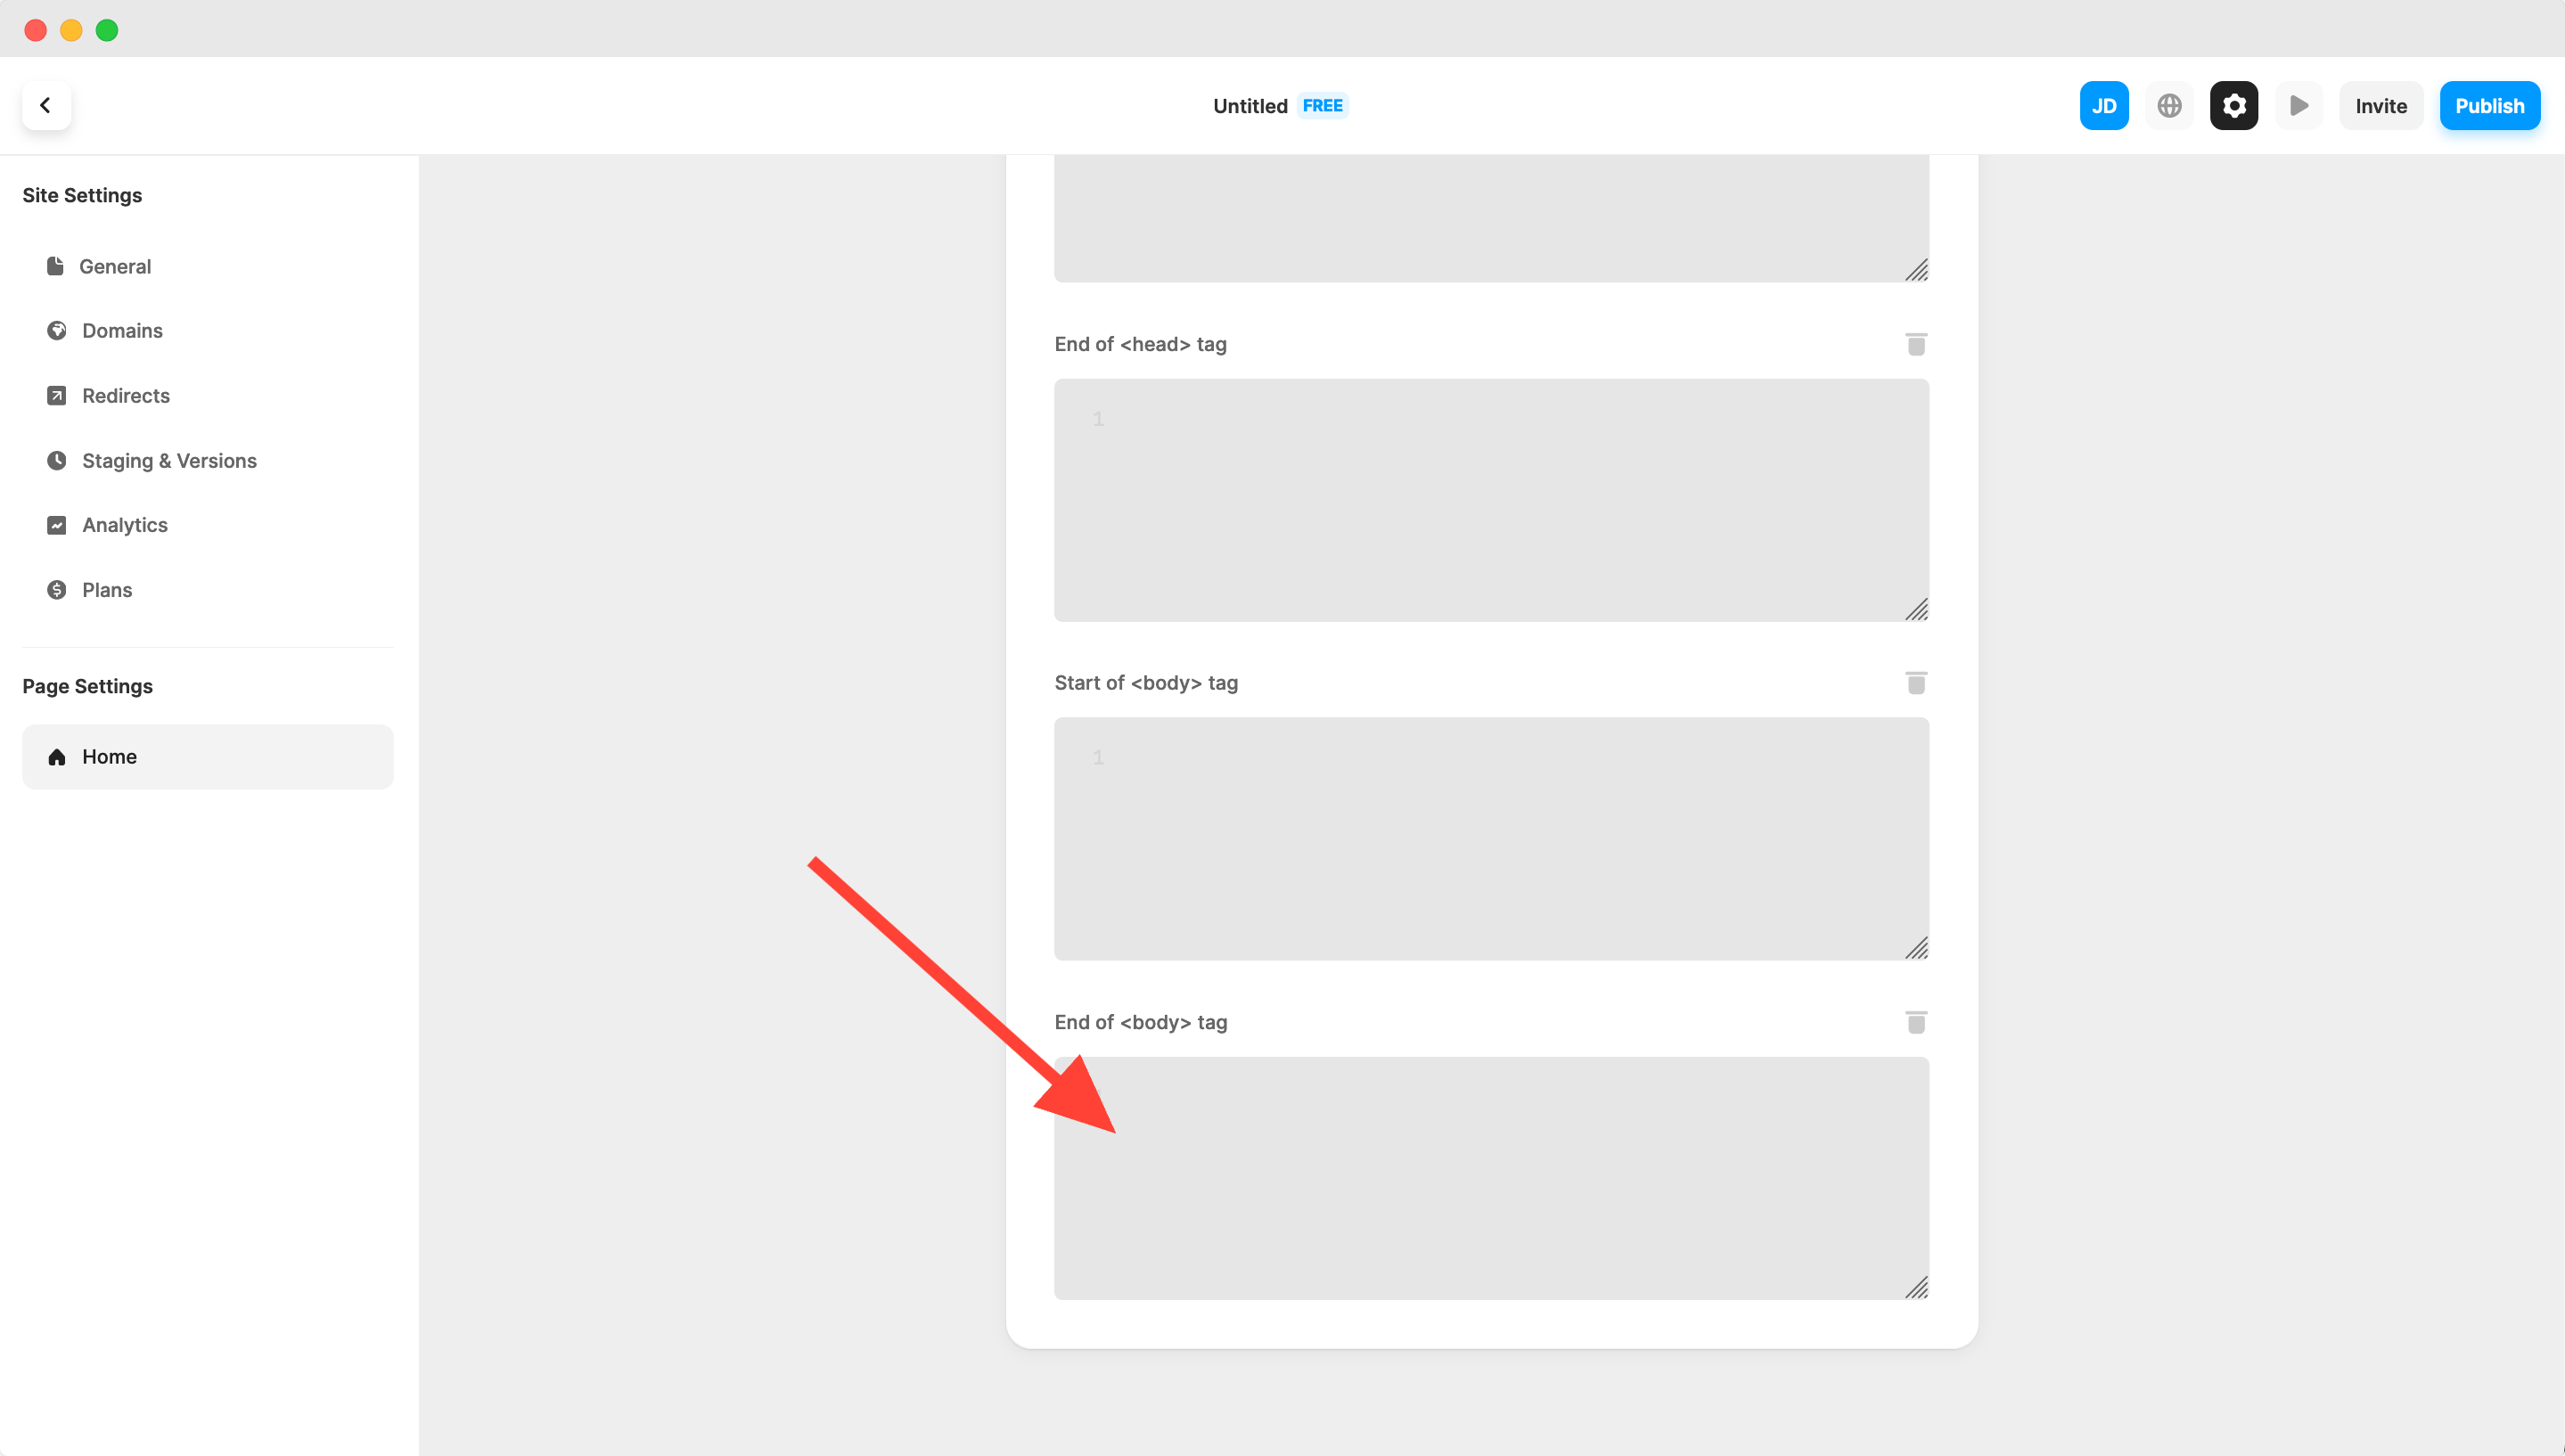
Add the following code to the
End of <body> tagsection:
<script src="https://swetrix.org/swetrix.js" defer></script>
<script>
  document.addEventListener('DOMContentLoaded', function () {
    swetrix.init('YOUR_PROJECT_ID')
    swetrix.trackViews()
  })
</script>

<noscript>
  <img
    src="https://api.swetrix.com/log/noscript?pid=YOUR_PROJECT_ID"
    alt=""
    referrerpolicy="no-referrer-when-downgrade"
  />
</noscript>
caution
It's important to remember to replace YOUR_PROJECT_ID with your actual Project ID, which you can find in the Swetrix Dashboard, otherwise tracking will not work!
Check your installation
After installing Swetrix tracking script, go to your website and visit some pages.
Within a minute you should be able to see new pageviews being added to your project's dahsboard.

Help us improve Swetrix
Was this page helpful to you?